|
Updated: January 19th 2004
|
|
In this tutorial, you will learn how to modify vehicles
for Battlefield: 1942 and Battlefield: Vietnam
Vehicles for Battlefield: 1942 and Battlefield: Vietnam
are a combination of textures, models, and sounds. Vehicles are defined
in plain-text.con files, and stored in the objects.rfa archive file.
Requirements:
- Full installed game of Battlefield: 1942 or
Battlefield: Vietnam
- Discreet® 3ds max® 5 or higher
|
| |
1. |
If you haven't already
installed the 3ds max® toolset from the Battlefield Mod Developement
Toolkit you will need to run the installer program. You can press the install
3ds max® tools button from the Battlefield Mod Developement Toolkit
front-end. The next time you load up 3ds max® and you will find a new
menu named "Battlefield Tools".
|
| 2. |
Select "Vehicle Import/Export" from the
"Battlefield Tools" menu.

|
| 3. |
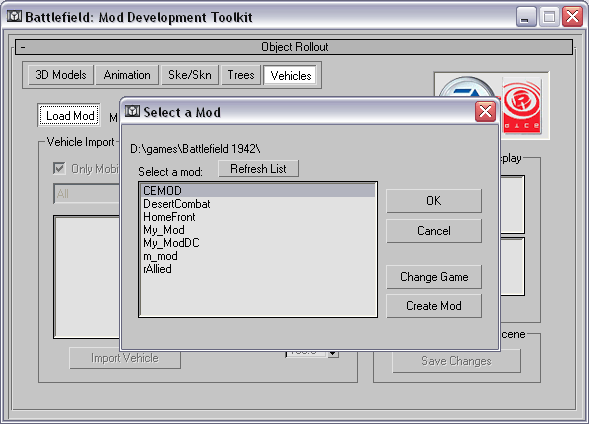
Press the Load Mod button and select your game's .exe
file from the game's install folder (see the next step below).
Create a new mod so you don't mess up an existing mod.
(Do this by pressing the create mod button)
Press the refresh button to show your newly created mod, the select that
mod from the list and press ok.
|
| 4. |
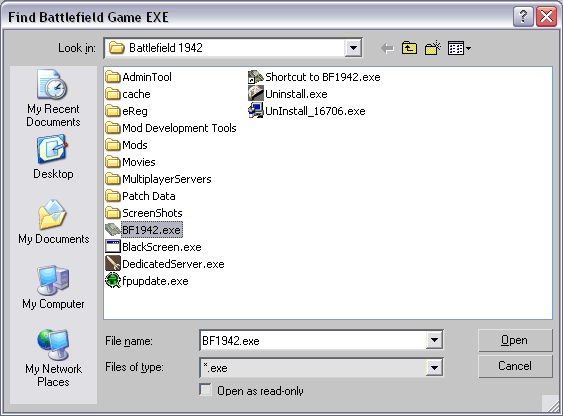
Choose the game's .exe file to set the path to the
game.
|
| 5. |
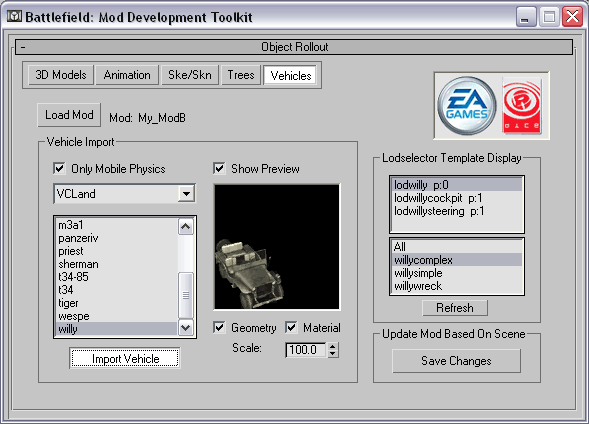
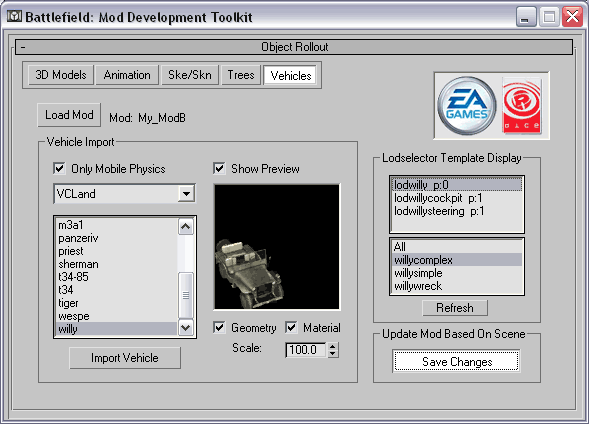
After your mod loads up, you should see something similar
to below. Select VCLand from the drop down list, check Only Mobile Physics
(excludes stationary weapon/vehicles from the list). Check show preview
to display the vehicle's icon image (if it has one).
The checkboxes for Geometry and Material determine
if 3d models are included with the import (otherwise you will only see
boxes). Material does not extract the texture images for you. Instead
you have to have the textures for vehicles extracted to a location and
that location added to your 3ds max® map paths (under the configure
menu)
Select the willy, or another wheeled vehicle that has
a steering wheel visible then press Import Vehicle.
|
| 6. |
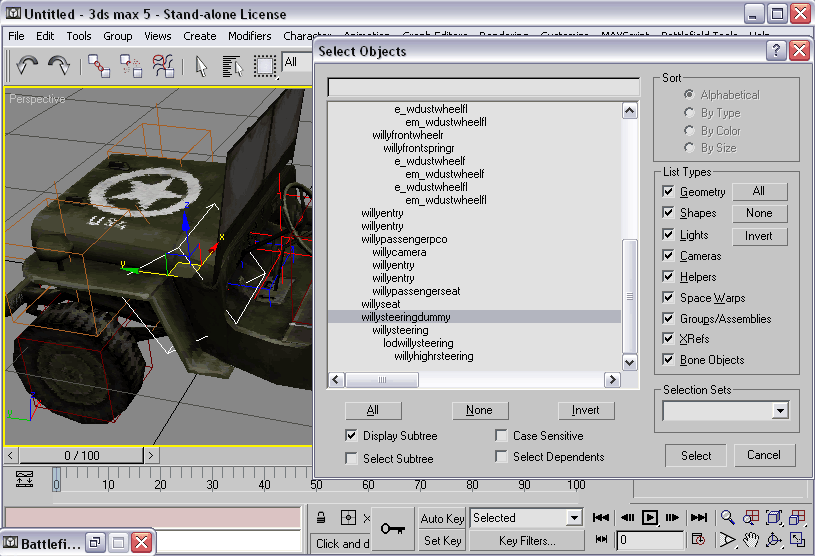
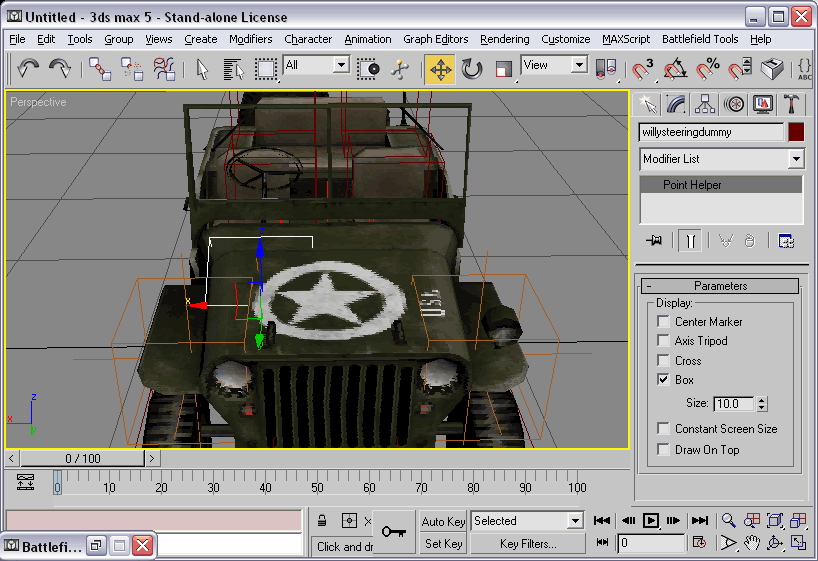
With the vehicle imported into the scene, select the
steering colum, then open the select objects dialog. In the select objects
dialog you want to check Display Subtree to show the scene hierarcy. Select
the highest level of that steering wheel tree (the one that stops indenting
and still has the name "steering" in it).
|
| 7. |
With the move tool, move the steering wheel to the
other side of the vehicle.
|
| 8. |
Back in the vehicle import/export rollout press Save
Changes.
|
| 9. |
Load up your mod and go find the vehicle you modified.
You can see the result in the screenshot below.

|
| |
-- End of Tutorial --
|


